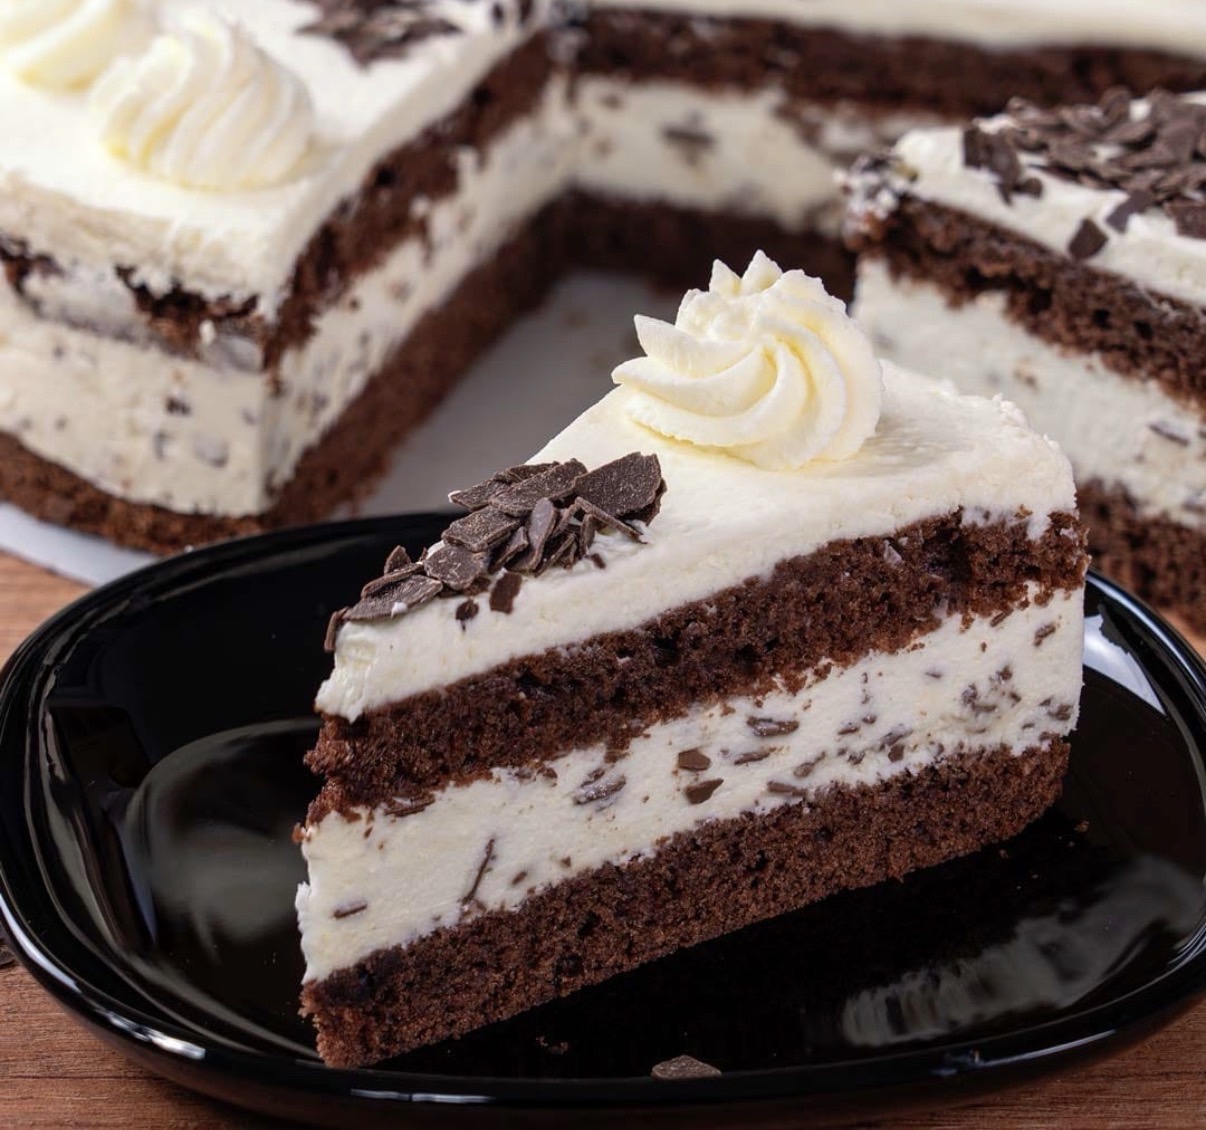
Chocolate Stracciatella Cake
Cake
Save recipe
To save recipes, you need a free MixBuch account.
Or use the MixBuch App:
Coming soon!
Our app is still simmering on speed 4 – almost ready to serve in your country! Stay tuned.
Trial expired
You have used the two free save slots. Switch to Premium for unlimited recipes!
Get PremiumStarting at €1.49/month
Cook Time
3 h
Servings
12
Difficulty
Medium
Prep Time
60 min
This Thermomix® recipe for Chocolate Stracciatella Cake is ready in 3 h and yields 12 servings. Step-by-step guide with precise Thermomix® settings on MixBuch.
Description
This chocolate stracciatella cake is a delicious dessert for special occasions. The moist chocolate base is refined with a creamy stracciatella filling and whipped cream topping. Preparation takes about 3 hours and yields 12 servings. Ideal for birthdays or festive coffee parties.
Ingredients (16 ingredients)
-
60 g Bittersweet chocolate
-
100 g soft Butter
-
100 g Sugar
-
1 pinch Salt
-
3 piece Eggs
-
130 g Flour
-
8 g Baking powder
-
10 g Baking cocoa
-
400 g cold Cream
-
30 g Instant gelatin
-
300 g Cream cheese
-
80 g Sugar
-
50 g Grated chocolate
-
300 g Cream
-
3 tsp San-apart
-
Grated chocolate
Preparation (21 steps)
Chop bittersweet chocolate
Add 60 g bittersweet chocolate to the mixing bowl and chop for 8 sec./speed 8. Then transfer.
Melt bittersweet chocolate
Place the chopped bittersweet chocolate in a heat-resistant bowl and melt in a water bath. Then let cool.
Stir butter, sugar and salt until creamy
Add 100 g soft butter, 100 g sugar and 1 pinch of salt to the mixing bowl and stir until creamy for 2 min./speed 4.
Add eggs
Add 3 eggs individually to the mixing bowl one after the other and stir in for 15 sec./speed 3 each time.
Stir in melted chocolate
Add the cooled, melted bittersweet chocolate to the mixing bowl and stir in for 20 sec./speed 3.
Add flour mixture
Sift 130 g flour, 8 g baking powder and 10 g baking cocoa into a separate bowl. Add the flour mixture to the mixing bowl and mix for 30 sec./speed 3.
Bake dough
Place baking paper on the bottom of the 26 cm springform pan. Grease the rim and dust with flour. Pour in the batter and smooth it out. Bake for about 25 minutes at 180 °C top and bottom heat in a preheated oven. Let cool after baking.
Divide cake base
Divide the cooled base horizontally once.
Prepare cake ring
Place a cake ring around the lower base.
Whip cream
Add 400 g cold cream and 15 g instant gelatin to the mixing bowl. Whip with the butterfly for 2 min./speed 3.5. Observe the consistency.
Prepare cream cheese cream
Add 300 g cream cheese, 15 g instant gelatin and 80 g sugar to the mixing bowl and mix for 30 sec./speed 3.
Fold in cream
Carefully fold the whipped cream into the cream cheese cream.
Fold in grated chocolate
Fold 50 g grated chocolate into the cream.
Spread cream on cake base
Spread the finished cream on the lower cake base.
Place second base on top
Place the second base on top and press down lightly.
Whip cream
Add 300 g cream and 3 tsp San-apart to the mixing bowl. Whip with the butterfly for 2 min./speed 3.5. Observe the consistency.
Portion cream
Fill 100 g of the whipped cream into a piping bag and place in the refrigerator.
Cover the cake with cream
Spread the remaining cream on the second base and smooth it out.
Cool cake
Place the cake in the refrigerator for about 2 hours.
Pipe on cream puffs
Pipe 12 cream puffs onto the cake with the piping bag.
Decorate
Sprinkle the middle of the cake with some grated chocolate.
Finished cooking? Great! 🎉
Share your result with the community and download the MixBuch App!
About this recipe
Created by

Saskia Simon
2
2 Recipes
0
0 Cookbooks
Allergens
- Wheat
- Eggs
- Milk
- Hazelnuts
ALL features in the app
Download the MixBuch App and save recipes offline – including MiaMix.
• Create your own recipes – from photo, URL or text
• Your favorites always with you – even offline
• Your own cookbooks & weekly plan on your phone
• Push notifications for new recipes & MiaMix updates
• MiaMix: AI cooking assistant with precise Thermomix® steps
Coming soon!
Our app is still simmering on speed 4 – almost ready to serve in your country! Stay tuned.
Similar Recipes
Based on category & tags

Chocolate Ricotta Cake without Baking
Cake

Tiramisu Cake
Cake

Chocolate Poppy Seed Cake with Mocha
Cake

Chocolate Nut Tartlets
Cake
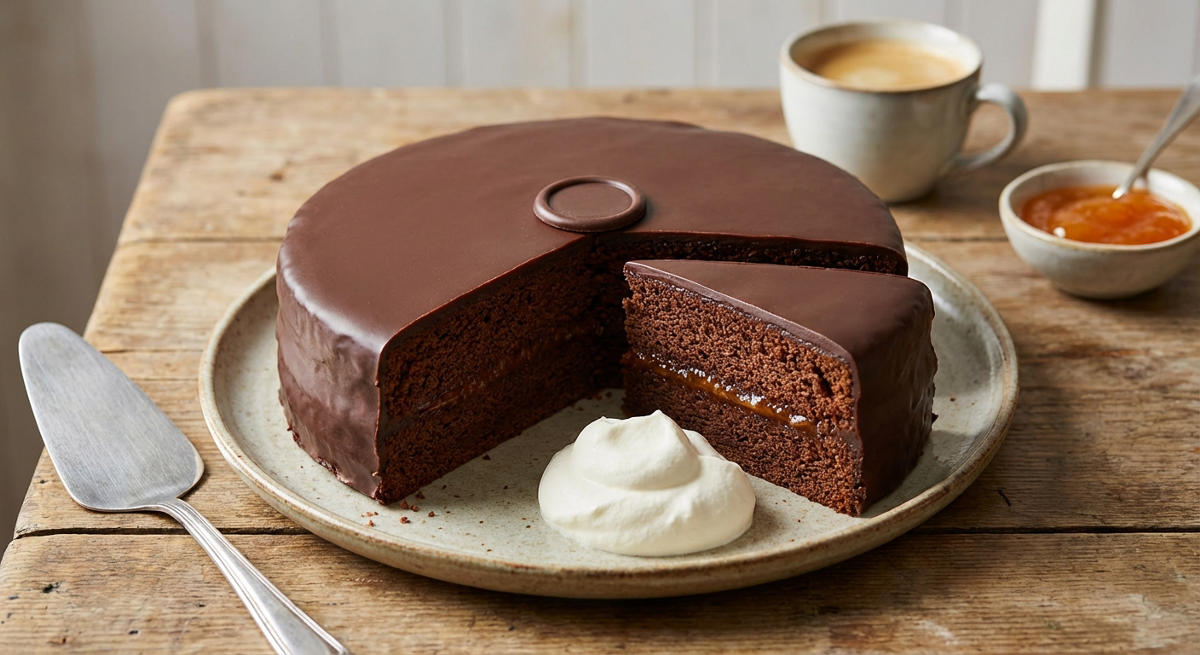
Sachertorte
Cake

Chocolate Cherry Cake
Cake

Chocolate Hazelnut Cake
Cake

Chocolate Mouse Cake
Cake